I’ve done some blogs in the past and after a brief period of enthusiasm for each of them they’ve all petered out. I guess it’s time to try a new one, photography.
I’ll start at the beginning. In 1975 if got a manual (no automatic features whatsoever) Olympus OM-1 SLR camera with one prime lens, probably a 50 mm but I don’t remember for sure. I was then working on my masters degree in geology and needed something to document observations in the field. I used it mostly for work but did a little “fun” photography and dabbled in b&w darkroom work. I enjoyed it. As I transitioned from being a student into a career that involved mostly laboratory work the camera got put aside and forgotten. When I picked it up many years later I found it was badly damaged. Perhaps one of my children dropped it while playing but I don’t know.
Fast forward to the digital camera age. After a few point and shoot cameras, I received an entry level D3200 Nikon DSLR camera with two lenses as a Christmas gift. That was about three years ago and for the following two years it mostly sat in the closet unused. I was totally intimidated. White balance, ISO, scene modes, auto focus. What are these things and how do they work?
Starting about a year ago I took some pictures in AUTO mode or one of the scene modes; landscape, night, sports, etc. It was nice, not great, but nice. Very unsatisfying! My wife then told me about the fellow named Paul who teaches a course entitled The Fundamentals of Photography at the Kroc Center in Ashland, OH. At that time he was in the middle of an eight-week course so I had to wait.
I enrolled in the class that started in June 2018. To start we put a battery in the camera, changed the lens and turned on the camera. In other words it began at the beginning which is a very good place to start (I think Maria said that in the Sound of Music, that but it might have been the scarecrow in the Wizard of Oz). Paul taught us about f stops, ISO, the exposure triangle, depth of field, angle of view, shutter speeds, and so on and so forth. He gave us weekly homework assignments to take photos; first in the Program mode, then Shutter speed, Aperture and finally Manual mode. The latter was a revelation, just like my OM-1, my happy place. We learned about trade offs. Do you want a faster shutter speed, then you’ll have to open up the aperture. All of photograph is a trade off. To get one thing, you have to give up another. When the class ended I had some basic knowledge and was full of confidence.
Seven months later I’m now convinced my photographs are lousy, though other people tell me they like them. When I come home and download my images I invariably see that I took the wrong photo, if framed it incorrectly, I didn’t focus well and on and on. My confidence is down. But I’ve learned a lot. Experience will make me better. You do things differently in the digital age. For one thing you can shoot all the photographs you want, thousands if you like because digital film is cheap! If you don’t like your photo, go home and do some processing.
So that’s where I started. I lack confidence and believe I take poor photos but I’m going to put them online and ask you to look at them if you view this blog. Lucky you. HAHAHAHAHA
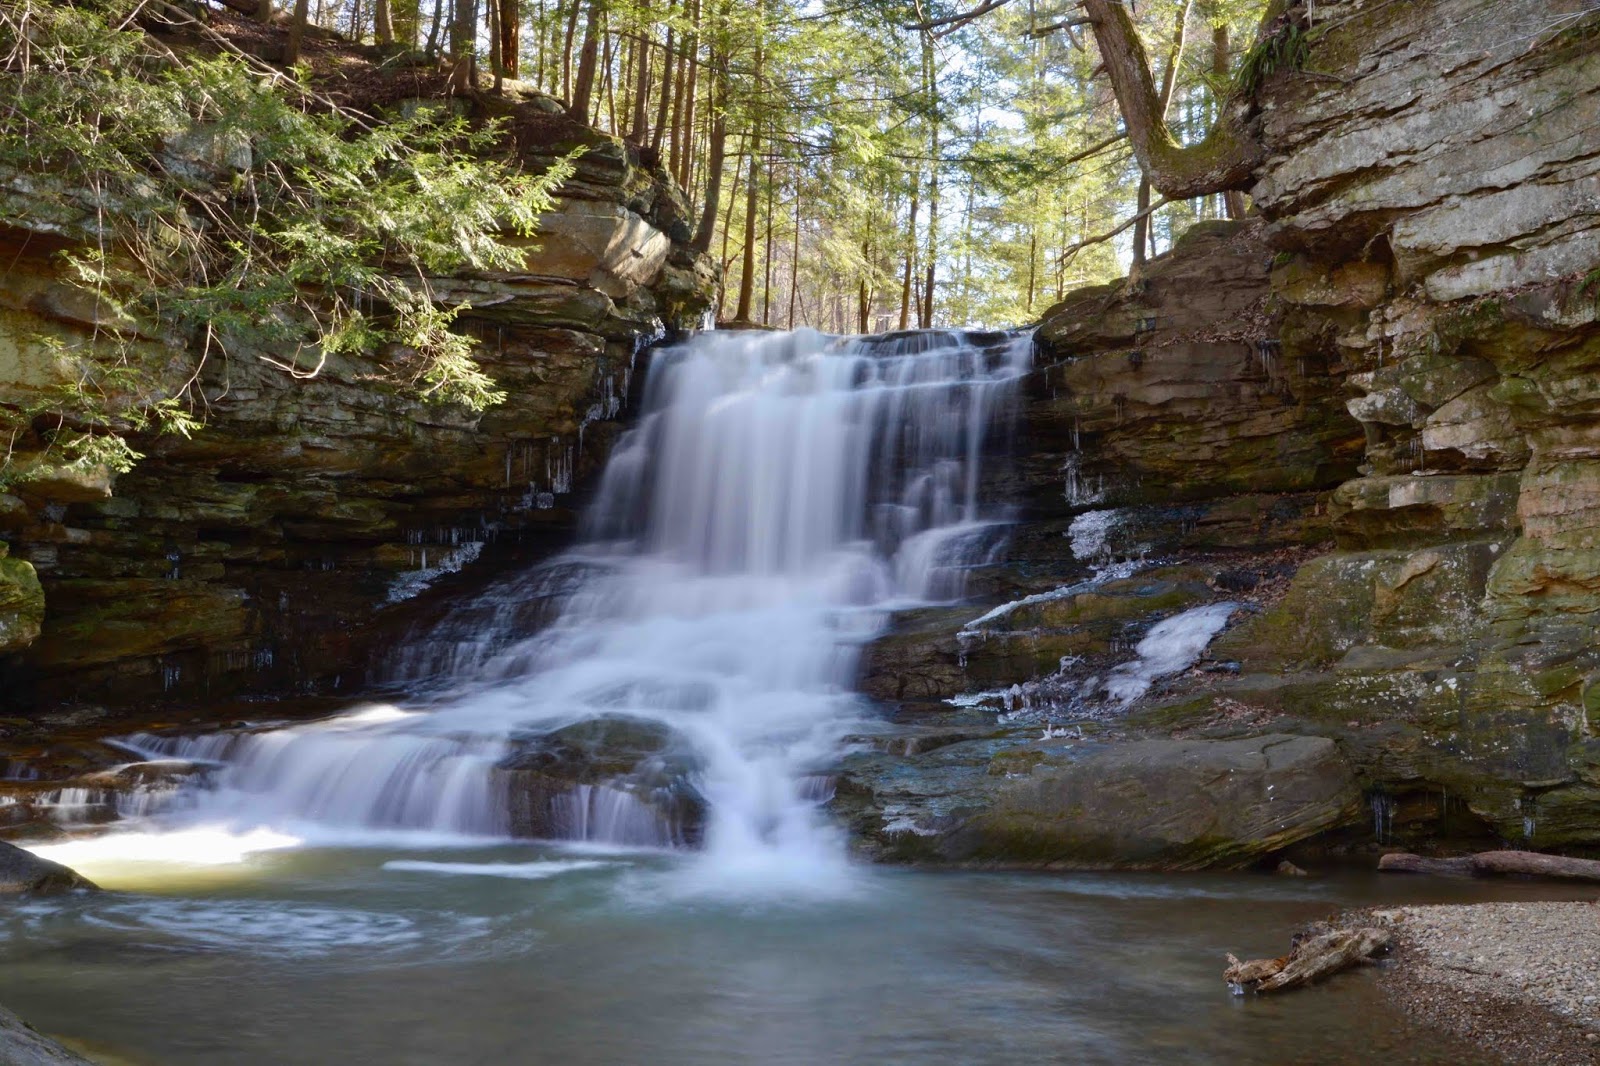
 Honey Run Falls is found in Honey Run Highlands Park in Knox County. Honey Run is a small creek that cascades over the cross-bedded Blackhand Sandstone formation falling a total of twenty-five feet. Stream discharge is highly variable depending on the season and precipitation so it may be a trickle or a raging torrent. The falls are immediately surround by hemlock trees yielding a soft green halo. The brown to tan sandstone is mostly covered with lichen and moss providing additional color.
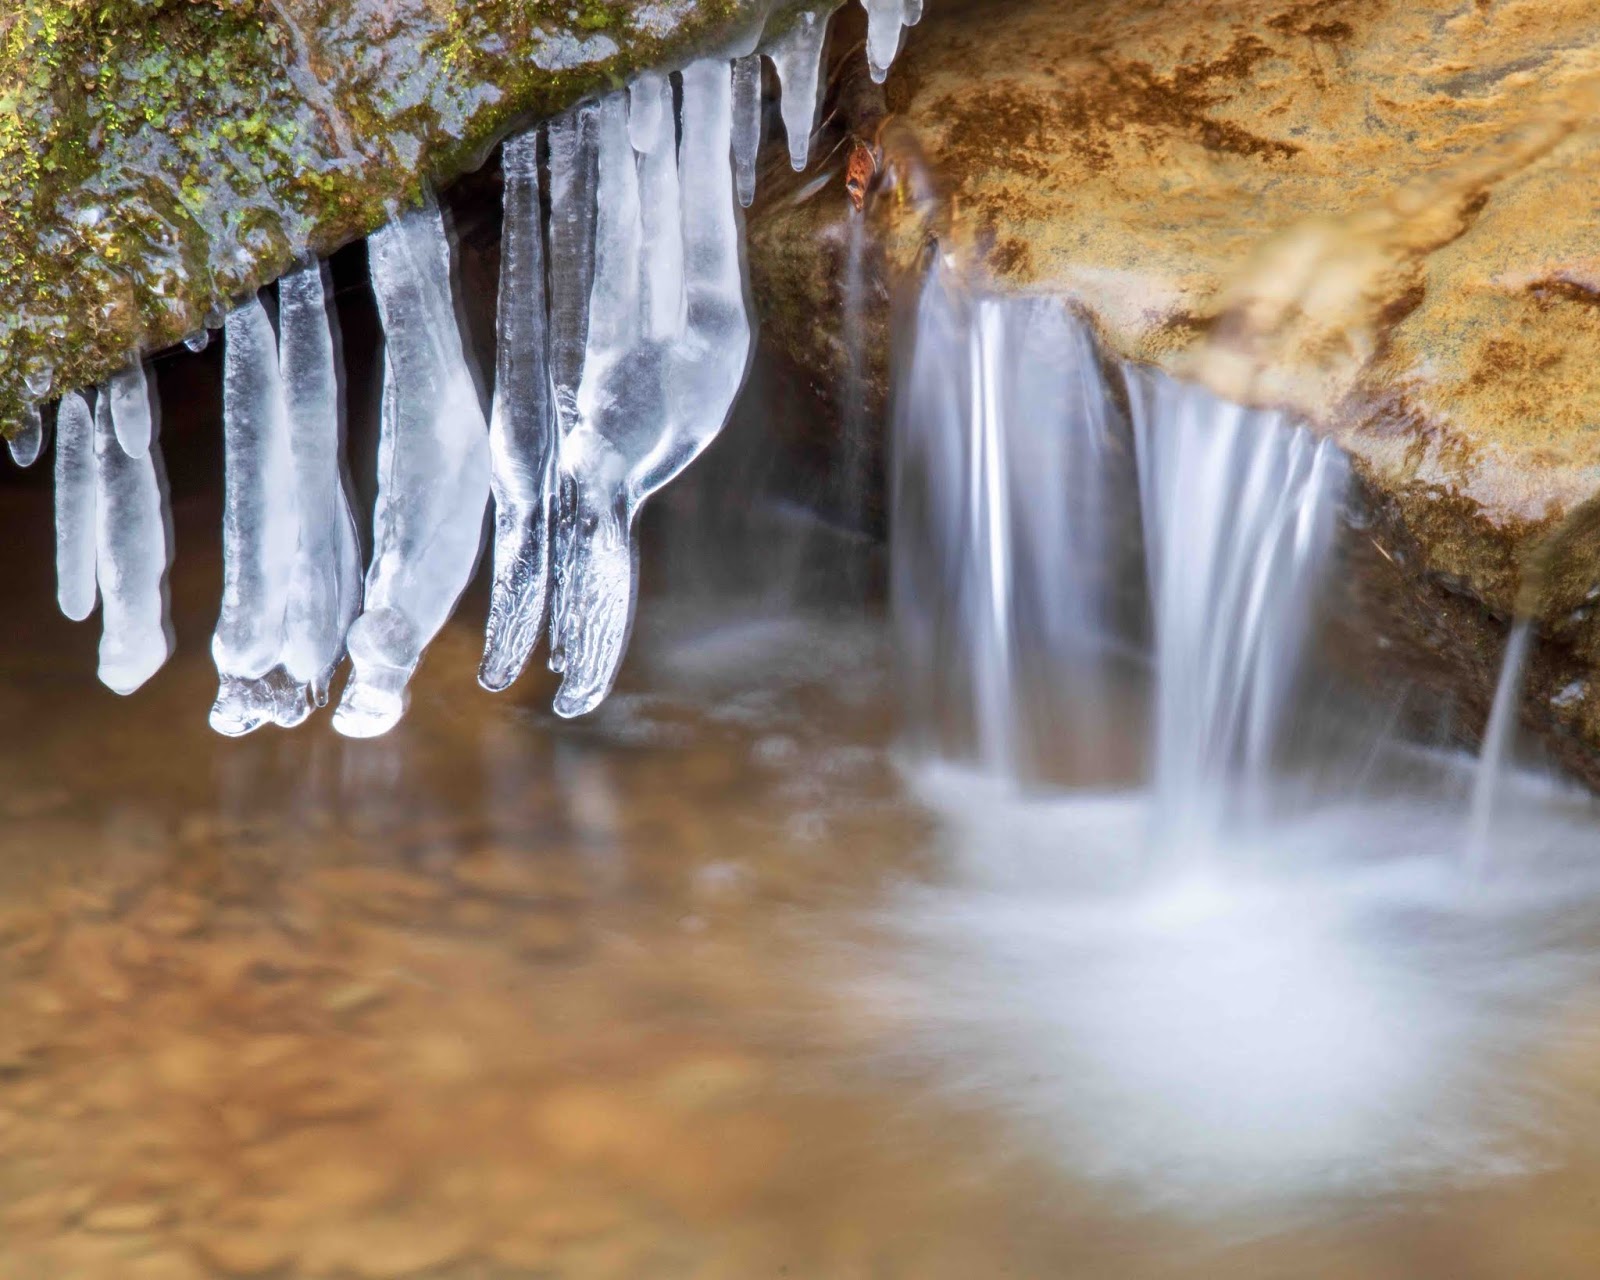
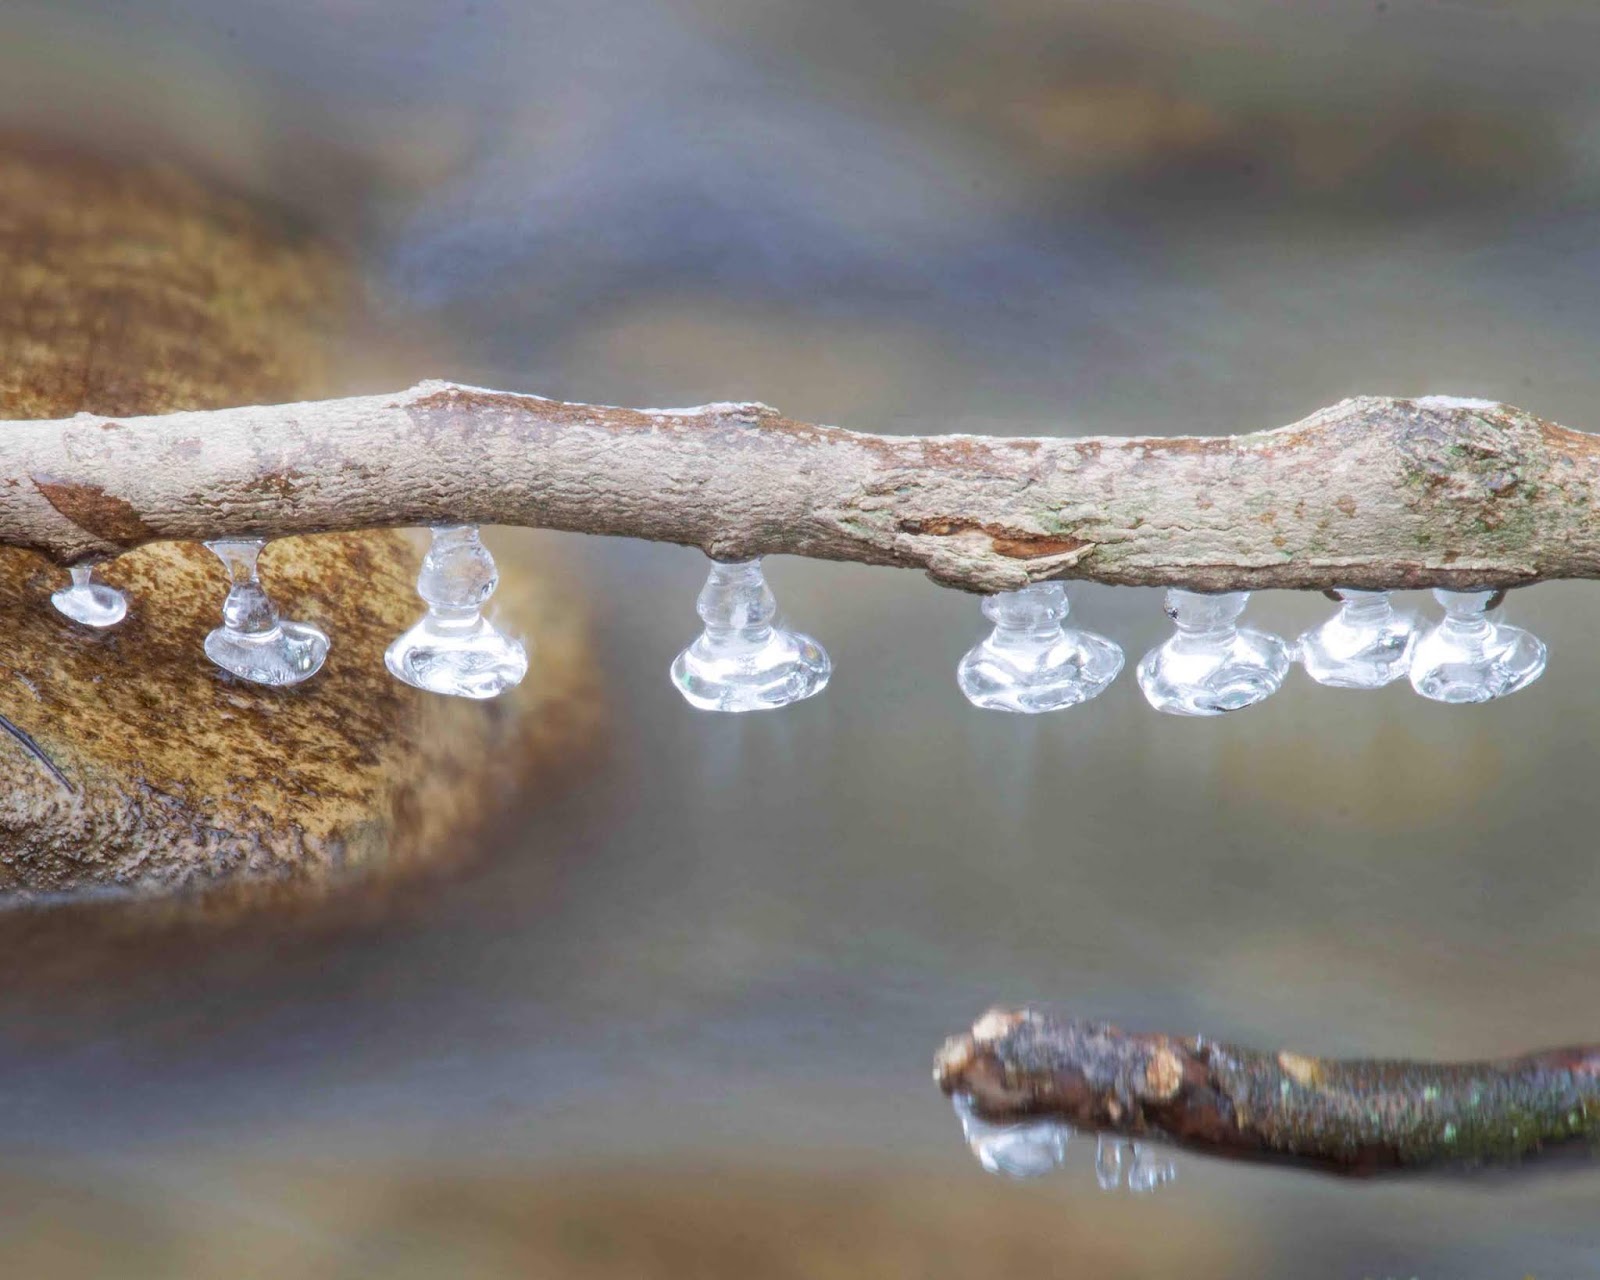
 Slowly I’m learning what experienced photographers already know, there is often a shot within a shot. The wide angle view is composed of many small views each of which may be worthy on its own. I find myself forgetting about shooting small but I get results that please me when I do.